Farmers Market Finds & Cherry Almond Scones

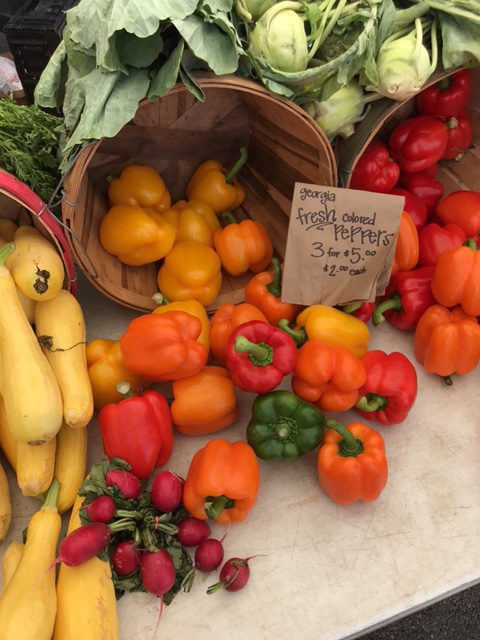
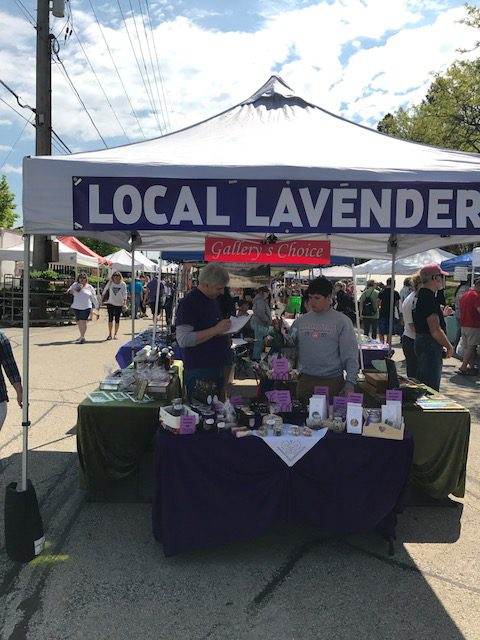
While Mondays normally bring on some familiar blue feelings, this particular Monday I’m feeling pretty well equipped to tackle the week head on. I can probably attribute that to spending the last 48 hours doing some of my favorite things; hiking, watching Netflix with the hubs, baking, spending time with family, taking a couple naps, and visiting the local farmer’s market. As ridiculous as it may sound, my weekly visit to the market has been my saving grace this summer. When mom ended up spending most of these last couple months in and out of the hospital, I really found out the importance of making time for myself- even if it was just an hour moseying through the various vendors every Saturday morning, sampling some of the local honey or cinnamon bread, picking up sunflowers the size of my head, and gathering our produce for the week. I found myself really treasuring this time during the stressful weeks. The best part of these visits were the goodies I would bring home. I’m crazy about all of the locally grown produce, organic meat, and delicious choices for baked goods (the monkey bread from Great Harvest Bread in Naperville, IL is literally life changing). I’d be absolutely lying if I said I didn’t leave feeling really full each time. 

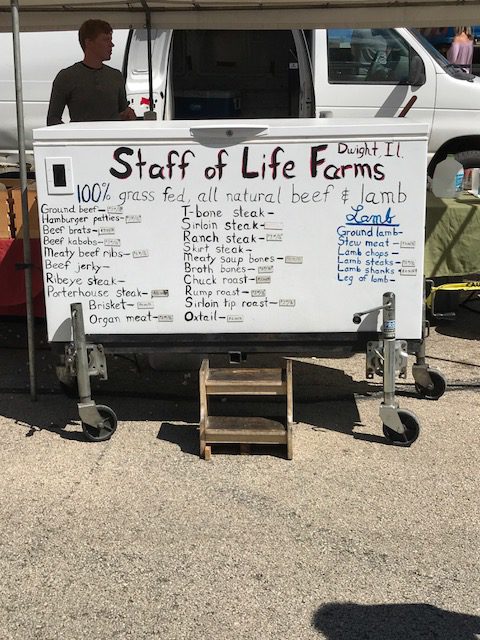
Last week we purchased some great burger patties to grill up from Staff of Life Farms in Dwight, IL


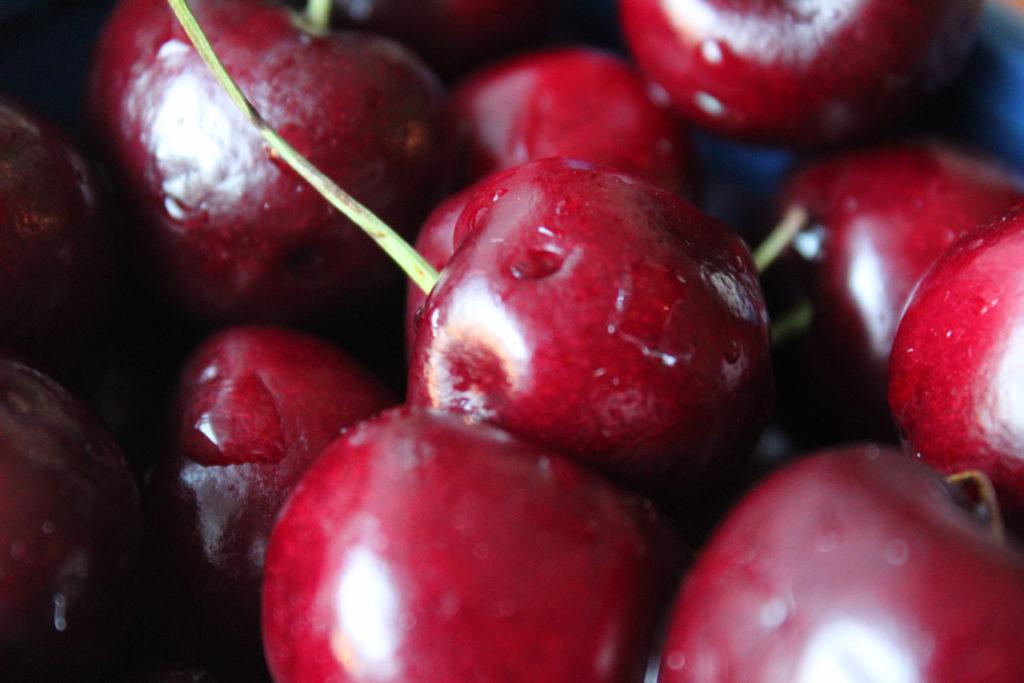
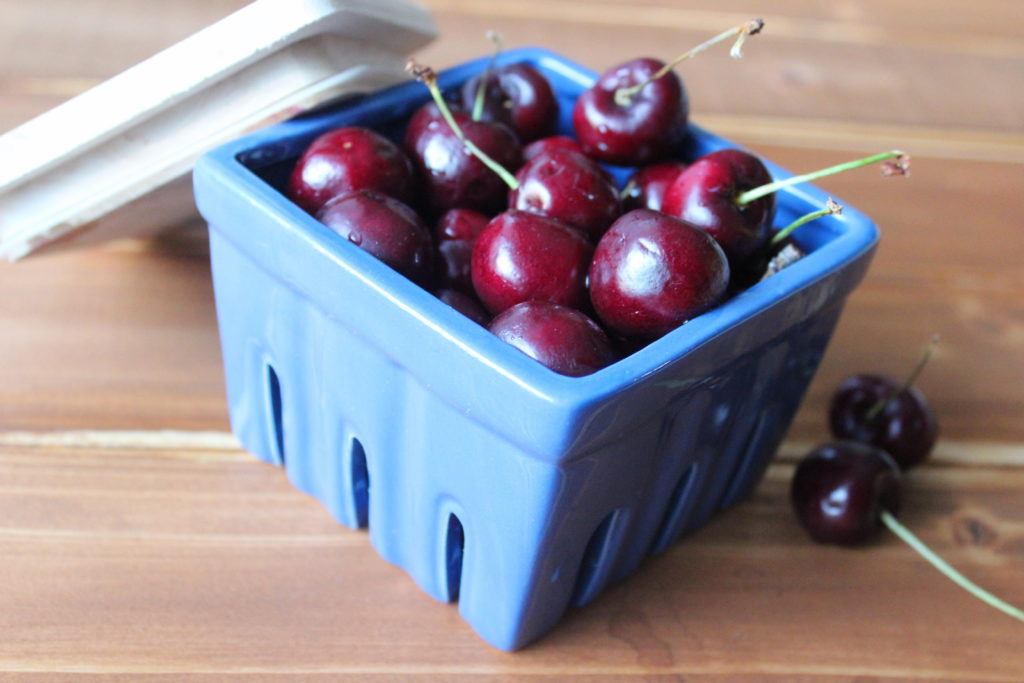
While all of the vendors had something wonderful to share, I would find that each week my first stop was to the Scone City tent. Holy. Cow. I became pretty addicted to their cherry almond scones and this entire summer I have been looking for ways to combine that flavor combination. My only complaint is that they’re located in the city and I can’t have one of these every single morning.

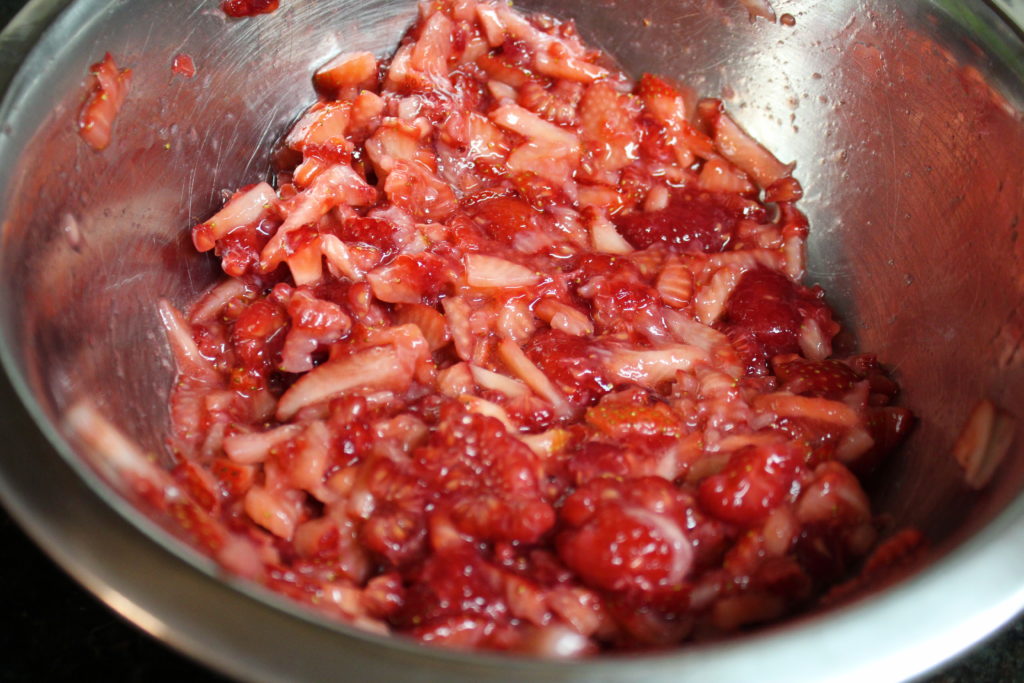
For that reason, I decided to take a crack at my own scones with cherries fresh from the market and a few healthier ingredients and now I have a jar filled with my own treats to enjoy with my morning coffee. 


Cherry Almond Scones

  • 2 1/2 cups white whole wheat flour
  • 2 eggs
  • 1/3 cup coconut sugar
  • 1 stick very cold butter, cut in to small cubes
  • 1 tbs baking powder
  • 1/2 tsp salt
  • 1/4 almond milk
  • 2 tsp almond extract
  • 1 tbs apple cider vinegar
  • 1 heaping cup of fresh cherries, pitted and sliced
  • 1/2 cup sliced almonds
  • Granulated sugar for sprinkling on top (optional)


  1. Preheat oven to 375 degrees and line a baking sheet with parchment paper.
  2. Combine flour, sugar, baking powder, and salt in a large mixing bowl. 
  3. Add cubes of butter and combine with hands until well incorporated in to the dry mix. Add cherries and place bowl in fridge.
  4. Whisk together eggs, almond milk, almond extract, and apple cider vinegar.
  5. Add wet mixture to the dry and stir with a spatula until a sticky dough forms. 
  6. Place dough on a floured surface and form in to a ball. Pat dough down to form a circle about 3/4 inch thick. 
  7. Cut dough in to 10 triangles and place on baking sheet. Sprinkle each triangle generously with almonds and a little coconut sugar or granulated sugar. 
  8. Bake for 18-20 minutes and enjoy!


What are some of your favorite things to do to de-stress? Do you have any favorite finds at your local market?

Cream Cheese Cucumber Bites

I’m going to go out on a limb and say that my favorite part of any meal is the appetizer. Even better than appetizers, are the kinds of get-togethers where everyone in your crowd brings something to share resulting in a plate full of different creations to try. While I love experimenting and try to bring something new most times, I have a few go-to’s that are ridiculously simple to make, feed a large group, and taste REALLY good. 

At the top of the list are these precious cucumber cups. You know how when you bite into a cupcake and the frosting goes up your nose a little bit? These cups give you the exact same result but who doesn’t love a generous portion of a little cream cheese and sour cream?

Before I scooped the cream cheese mixture into the cups, I used a small vegetable peeler to make ‘stripes’ on the cucumbers. Obviously- not necessary but it dresses them up just a bit. I also used a disposable pastry bag to swirl the mixture into the cups, but you can use a ziploc bag with a tip cut out or just spoon a heaping tablespoon in. Again – as long as you’re generous with the filling, any way you make them is gold 😉 

Cream Cheese Cucumber Bites

Makes approximately 18 cucumber cups.

  • 2-3 large cucumbers
  • 1 8 oz. package/block of Philadelphia cream cheese
  • 1 8 oz container of light sour cream
  • 1 package of ‘Good Seasonings’ Italian Dressings Mix
  • crumbled turkey bacon for sprinkling (This time, I used packaged turkey bacon, but I have previously cooked up a couple slices of turkey bacon over the stove for a fresher option)
  1. Combine sour cream, cream cheese, and Italian Dressing mix. Place in an air tight container in the fridge until you are ready to use.
  2. Wash cucumbers and if desired, use a vegetable peeler to peel ‘stripes’ on the cucumber.
  3. Slice each cucumber into 1 to 1.5-inch thick slices and with a small spoon or a melon baller, scoop out a good portion of the seeds/middle of each slice to form little cups.
  4. Lightly dab each of the cucumber slices with a paper towel. If there is too much moisture before adding the cream cheese mixture, it will become runny.
  5. Using the pastry bag or a spoon, fill each cup with a heaping tablespoon of the filling and top each with turkey bacon crumbles. 

One of the best parts of this appetizer is the crunch you get from the cucumbers so I would suggest making these fairly close to when you are going to serve them as the cucumbers become soft from the filling over time. 

Perfect for your next barbecue or even before a meal at home, I hope you try out and enjoy these easy-peasy cucumbers! 

Sweet Barbecue Chicken Tacos

It’s Thursday morning y’all and that means we’re over the hump of this gloomy workweek. Also, holy humidity. Did anyone else feel like they needed a shower immediately upon opening their front door this week? Did anyone else’s hair look as unruly as mine?

I’ll admit, the humidity made me feel pretty lazy this week. This, combined with the amount of time I’ve spent at the hospital with my mom, has made it virtually impossible to stick to a routine or retain enough energy at the end of the evening to cook a healthy meal. I can’t tell you how many times I’ve bought my breakfast and/or lunch on the go in the past month. And let’s talk about my lack of time at the gym or sticking to my training plan for the Chicago Rock and Roll 10K this coming weekend.. urgh, yes. THIS. Weekend. 
 
But Monday always rolls around and it’s always a good opportunity to begin the week off on the right foot. Moms on the up and up and I’m finally feeling like myself again so I was eager to spend some time in my kitchen and make some dinners for the week. Full disclosure, I had a taste for barbecue and Mexican this past weekend. As I’ve expressed many times before, your favorite meals don’t have to require an abundant amount of ingredients or take a ton of time to throw together. My lack of grocery shopping in the past ten days or so led me to dig through what I already had and I’m thrilled I did because we’ve been eating these Sweet Barbecue Chicken Tacos for the past few nights. We wanted enough leftover shredded chicken to have these for 2-3 dinners as well as extra for topping salads and sandwiches this week but you could always use half of the chicken if you don’t want as much. 
 
They’re a little sweet and a little tangy and combines some fresh lime juice, veggies, and blue cheese for a pretty awesome flavor. I’ve been using this Wholesome Organic Coconut Sugar in a few recipes recently and been pretty pleased. The flavor is just as sweet as brown sugar, but coconut sugar contains nutrients like zinc and iron and also contains insulin- which acts as a prebiotic – aka gut health! It’s also easy to replace brown sugar in your recipes because it’s a 1:1 ratio. 1 cup of brown sugar = 1 cup coconut sugar. 
 
We had some fruit with our tacos but would also be pretty tasty to serve with some black beans or rice. 
 
What flavor combos do you enjoy? What else would you add to your barbecue tacos?


Sweet Barbecue Chicken Tacos

2 tacos per serving

  • 1 cup of your favorite barbecue sauce
  • 1/4 cup coconut sugar
  • 4 large chicken breasts
  • 1 cup frozen baby corn
  • 1 small onion – diced
  • 1 roma tomato – diced
  • 1 avocado
  • 2 tbs fresh lime juice
  • Blue cheese crumbles to top
  • Corn tortillas
  1. Whisk barbecue sauce and coconut sugar together until sugar is fully incorporated. 
  2. Place chicken breasts in large crockpot and pour sauce evenly over the chicken. Cook on high for four hours. Once chicken is cooked, shred with a fork and turn crockpot to ‘warm’ until ready to serve.
  3. Combine corn, diced onion, diced tomato, and lime juice in a large bowl. Set aside. 
  4. Warm your corn tortillas. Top each taco with a little shredded chicken, corn ‘salsa’, a couple avocado slices, and 1 tbs of blue cheese crumbles.

Dark & White Chocolate Almond Butter Cups

I can’t say that I am sorry for another post involving some sort of nut butter and chocolate. Though, a recent craving has evolved in to a treat I’ve already made a handful of times and I thought it worth sharing. More times than not, my nightly dessert doesn’t need to be more than a small square of chocolate or candy. As a result, I have recently been very fond of the Justin’s Peanut Butter cups that come in two packs because Bryan and I can easily split one at night after dinner. Because my trips Whole Foods to purchase these have increased exponentially, I got to thinking that I could easily make my own version of these delicious treats – and even customize them based on what kind of chocolate or add-ins I have a taste for (ie; various kinds of nut butters, chocolates, dried fruits, nuts, cacoa nibs, seeds, sprinkles, etc). The bonus here is that the chia/flax combo with the nut butter makes these pretty filling so having one of these as a treat after a workout would be great pick-me-up. I whipped up a small batch of these for my mom as she’s recently gotten her taste for sweets back while in the hospital and they couldn’t have gone over better. In fact, a couple of her nurses have already requested some.

This is a perfect sugary snack to share at a get together or keep a container tucked in your fridge or freezer for your nightly sweet tooth. 

I highly recommend investing in a silicone mold for making anything involving chocolate. I purchased this one a while ago from Wilton and I have used it for everything from candy molds to mini-brownie bites. If you do not have a mold, a mini-muffin tin and papers will work fine too!

Almond Butter Cups

  • 1/2 cup any nut butter of your choosing (My favorite is Justin’s Vanilla Almond Butter)
  • 2 tbs coconut oil
  • 1 12 oz bag of white chocolate chips or candy melts
  • 1 12 oz bag of dark chocolate chips or candy melts (or milk chocolate, if you prefer)
  • 2 tbs coconut sugar
  • 2 tbs chia and flax seed blend
  • Cooking spray
  • Silicone candy mold or mini muffin tin & mini muffin papers
  • Coarse sea salt


  1. Spray mold with cooking spray or line muffin tin with papers
  2. In a microwave safe bowl, combine white chocolate and 1 tsb of the coconut oil. In a second microwave safe bowl, combine dark chocolate and 1 tbs of the coconut oil. Microwave each bowl separately at 30 second intervals and stir between each interval until full melted. 
  3. Fill each mold 1/3 of the way with the melted chocolates and place mold in freezer for 10 minutes.
  4. While mold is in freezer, combine almond butter, chia/flax blend, and coconut sugar and place in the refrigerator.
  5. Take mold out of the freezer and place 1 tsp of almond butter mixture in the center of each cup and flatten gently with a spoon. 
  6. Fill each mold with the remainder of the chocolates and place in freezer for 3-5 minutes, or until chocolate JUST begins to harden. 
  7. Top each mold/candy with a pinch of coarse sea salt and place in freezer for 5 more minutes or until fully hardened. 
  8. Pop each candy out and enjoy! (Note, store almond butter cups in refrigerator)


Mango Berry Salsa (With Cinnamon Pita Chips!)

Like the masses this past weekend, my husband and I attended a couple of barbecues as the abundant sunshine of Memorial Day weekend kicked off the official start to summer. I consider ourselves lucky that our outings with friends and family were not scheduled until Monday as Hubs arrived home from school on Friday and announced that he thought he was coming down with strep throat (spoiler alert: he thought correctly). We were forced to take it easy for the majority of the weekend but as he started to feel better and our Monday plans approached, I started thinking about a small dish to share with everyone.The weather was hot and I knew there would be a lot of food straight off the grill, so I whipped up something that would cool everyone down. The fruit this time of year is gorgeous and the berries are especially sweet so a fruit salsa was an easy choice. 

Mango Berry Salsa

Ingredients

  • 2 cups strawberries – diced
  • 1 cup raspberries
  • 2 cups mango – diced
  • 2 tbs fresh mint – chopped
  • 1/2 cup green onion – chopped
  • 2 tbs fresh lemon juice

Instructions

  1. Wash and dice strawberries and place in a large bowl. Add raspberries and gently mix with a wooden spoon. The raspberries will soften and mix well with the strawberries. 
  2. Cut mango in to four sections away from the pit. You will have four sections that you can dice in to small squares. Once the fruit is diced, you should be able to peel or gently cut squares away from the skin. Add to the bowl and gently fold in to the berry mixture.
  3. Add chopped mint, green onion, and lemon juice. 

Cinnamon Sugar Pita Chips

Ingredients

  • 6 Pita Rounds
  • 2 tbs coconut oil, melted
  • 2 tbs sugar
  • 2 tbs cinnamon

Instructions

  1. Preheat oven to 350 degrees and spray a cookie sheet with non-stick spray.
  2. Cut pita rounds into 8 triangles each and scatter on cookie sheet. Brush each triangle with coconut oil.
  3. Mix cinnamon and sugar and evenly sprinkle mixture over the pita triangles. 
  4. Place cookie sheet in the oven and bake for 10-12 minutes. 
  5. Serve pita chips warm or cooled with fruit salsa and enjoy!


Hubs thought my pineapple shaped serving dish from the Target dollar spot was ridiculous and when I first brought it home, was quick to question what I would ever put in that. Fruit salsa- that’s what. And you can bet I am going to try and find every excuse to use this adorable dish this summer. 😉 

Believe it or not – the Fri-Yay is here again and the forecast is looking good for another weekend of grilling and simply enjoying some Vitamin D. Whatever your plans are, I hope they’re filled with good company and yummy food!