Everyone’s refrigerator door is stuffed with various condiments, dressings, and sauces that they bought for a recipe one time and never had to use again (I can’t be the ONLY one that has 8 salad dressings in the fridge, right?). However, the one thing that is on constant rotation is buffalo sauce. Most Weight Watcher friendly recipes don’t call for a lot of extra sauces-usually they pack the most points due to fat, sodium, carbs, and sugar so we pay close attention to these labels. Buffalo Sauce is not the worst in general-but one day Bryan and I stumbled upon Bulliards Buffalo Style Chicken Wing Sauce and now we don’t use any other brand. It’s got 1g Fat and 380mg of Sodium per Tbs. While the sodium isn’t ideal, it’s less than anything we have found.
Last fall, we discovered that we could make our own meatball sub sandwiches and stay within our points. It was great until I read all of the artificial ingredients that were in the frozen bags of meatballs we bought every other week. A big lesson Bryan and I have learned from being on WW for the last 5+ years is that less points doesn’t ALWAYS mean less artificial additives in food. We love the flexibility of the program and that on a busy evening we can still choose something “quick” (ie; heat up those frozen meatballs), but 99% of the time try our best to pay attention to the ingredients as well as the nutrition label. Long story short-I needed to figure out how to make my own tasty buffalo style meatballs.
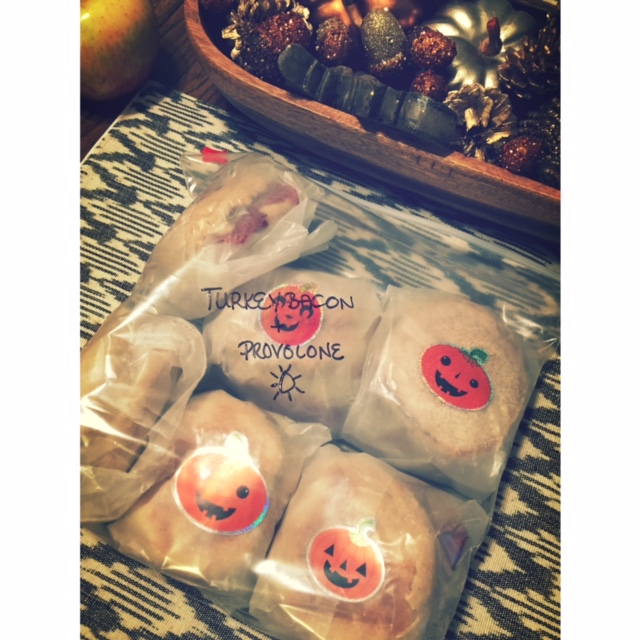
My husband took the first bite of his sandwich, closed his eyes, and said a gargled “OERRGHHMYYGUURDD” we are all familiar with when we taste something we love . I knew I had succeeded. I think next time I might try these on top of a salad with a little light blue cheese dressing, cucumbers, and shredded carrots to eliminate the bread. You can even place these on top of a small bowl of quinoa. I love when I can make a huge batch of something, freeze it, and use it for different meals as it prevents us from getting bored. This is an easy one that is sure to please even the pickiest of game-day meatball sub eaters 🙂
- 1lb Lean Ground Chicken or Turkey
- ¼ cup dried breadcrumbs
- ½ tbs Garlic Salt
- 1 tsp pepper
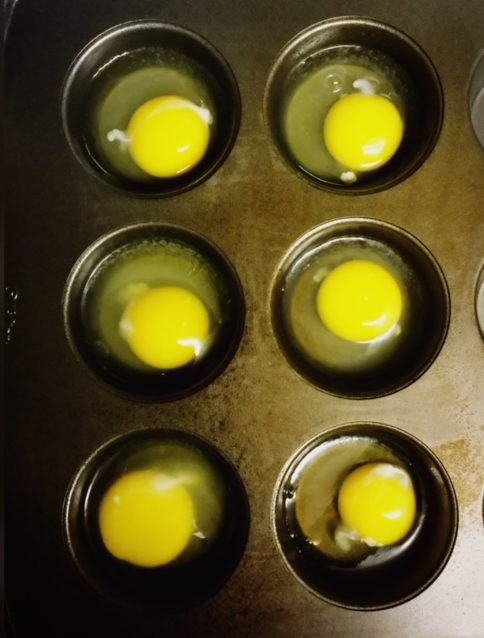
- 1 egg
- 3 tbs Buffalo Sauce
- ½ cup Chopped Onion
- ¼ cup blue cheese crumbles
- 6 Small Submarine Rolls
- Additional blue cheese crumbles and buffalo sauce for sandwiches
- 1. Spray a baking sheet with non-stick cooking spray (Again, I used Pam’s Coconut Oil spray).
- 2. Preheat oven to 400 degrees.
- 3. Combine breadcrumbs, egg, onions, blue cheese, garlic salt, and pepper in a large mixing bowl.
- 4. Add ground chicken and mix well.
- 5. Roll in to 1-1 ½ inch balls and place on baking sheet.
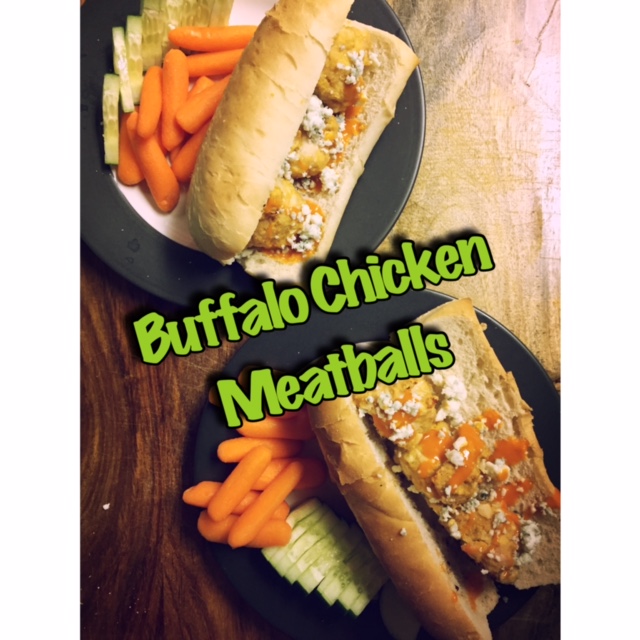
- 6. Bake for 16-18 minutes or until cooked all the way through
- 7. Once cooked, place 3 meatballs on a small sub roll and sprinkle each sandwich with a tablespoon of blue cheese crumbles and a tablespoon of buffalo sauce. Serve with baby carrots and cucumbers.